Tutorial 1 - Author and Validate a Tool
Time 8 min · Difficulty ★☆☆ · Surfaces Tool Studio, MCP Server
Goal
Take a built-in example tool (getWeather), run its local test, and verify it shows up on the built-in MCP server. This is the canonical no-pass-no-run flow: every tool earns its Local Pass before going live.
What Tool Studio is for
Tool Studio wraps an HTTP API - or any small piece of JavaScript - into an MCP-callable tool. The runtime is GraalVM Polyglot JavaScript inside the JVM with a deny-first sandbox: raw network, file, native, and thread access are all blocked at the Java level. Tools reach the outside world through built-in helpers - fetch (with a 4-layer SSRF guard), safety.fs (rooted at a configurable base path), and safety.parser.{html,yaml,csv,xml} - which is enough for REST API wrappers and small computations, which is most of what a model needs.
The bundled catalog ships 116 default tools. The Starter 5 preset is exposed through the built-in MCP server out of the box - that's what this tutorial picks from:
| Tool | Pattern |
|---|---|
getCurrentTime |
Pure computation with an optional parameter |
getWeather |
External REST call through fetch, normalized JSON output |
searchWikipedia |
REST call with no API key required |
extractPageContent |
fetch + safety.parser.html to extract clean main text |
evalExpression |
Pure expression evaluator, no network |
Other presets (Dev Essentials, Korea Toolkit (free), File Toolkit, Everything, Custom), chosen at setup in the desktop launcher (or via CLI / yaml), unlock more of the catalog when you need it.
Steps
- Open Tool Studio and click
getWeatherin the left rail. It's a small REST-API wrapper - exactly the shape Tool Studio is built for. - Review the schema, parameters, and the JavaScript action. Notice the description tells the model when to use it - that's what the LLM uses for tool selection.
locationships optional (the Required checkbox is off - an empty value falls back to the caller's IP-detected location), and it arrives withSeoulalready in its Test Value. Tick Required on any parameter and its Test Value picks up the•marker and becomes mandatory. - Fill in the
Test Valuefor every required parameter. This is not just a form field - the Test Value is the sample input the local sandbox actually executes the tool with. The output of that run is what earns (or fails) the Local Pass, which is what gates publishing the tool to MCP. Garbage values here mean a garbage Local Pass. - Click Test Run under the code editor to watch the sandbox execute the action with those Test Values. The Debug Console below it reports
✓ Success, how long the call took, the final variable state, and the JSON the tool returned - that JSON is what the model will see. - Click Test & Publish (the button is labeled Test & Update when the tool was already published once). It runs the same local test, and if it passes the tool earns its Local Pass and is published to the built-in MCP server in the same step - no restart, no redeploy. Save Draft beside it stores the form without running the test.
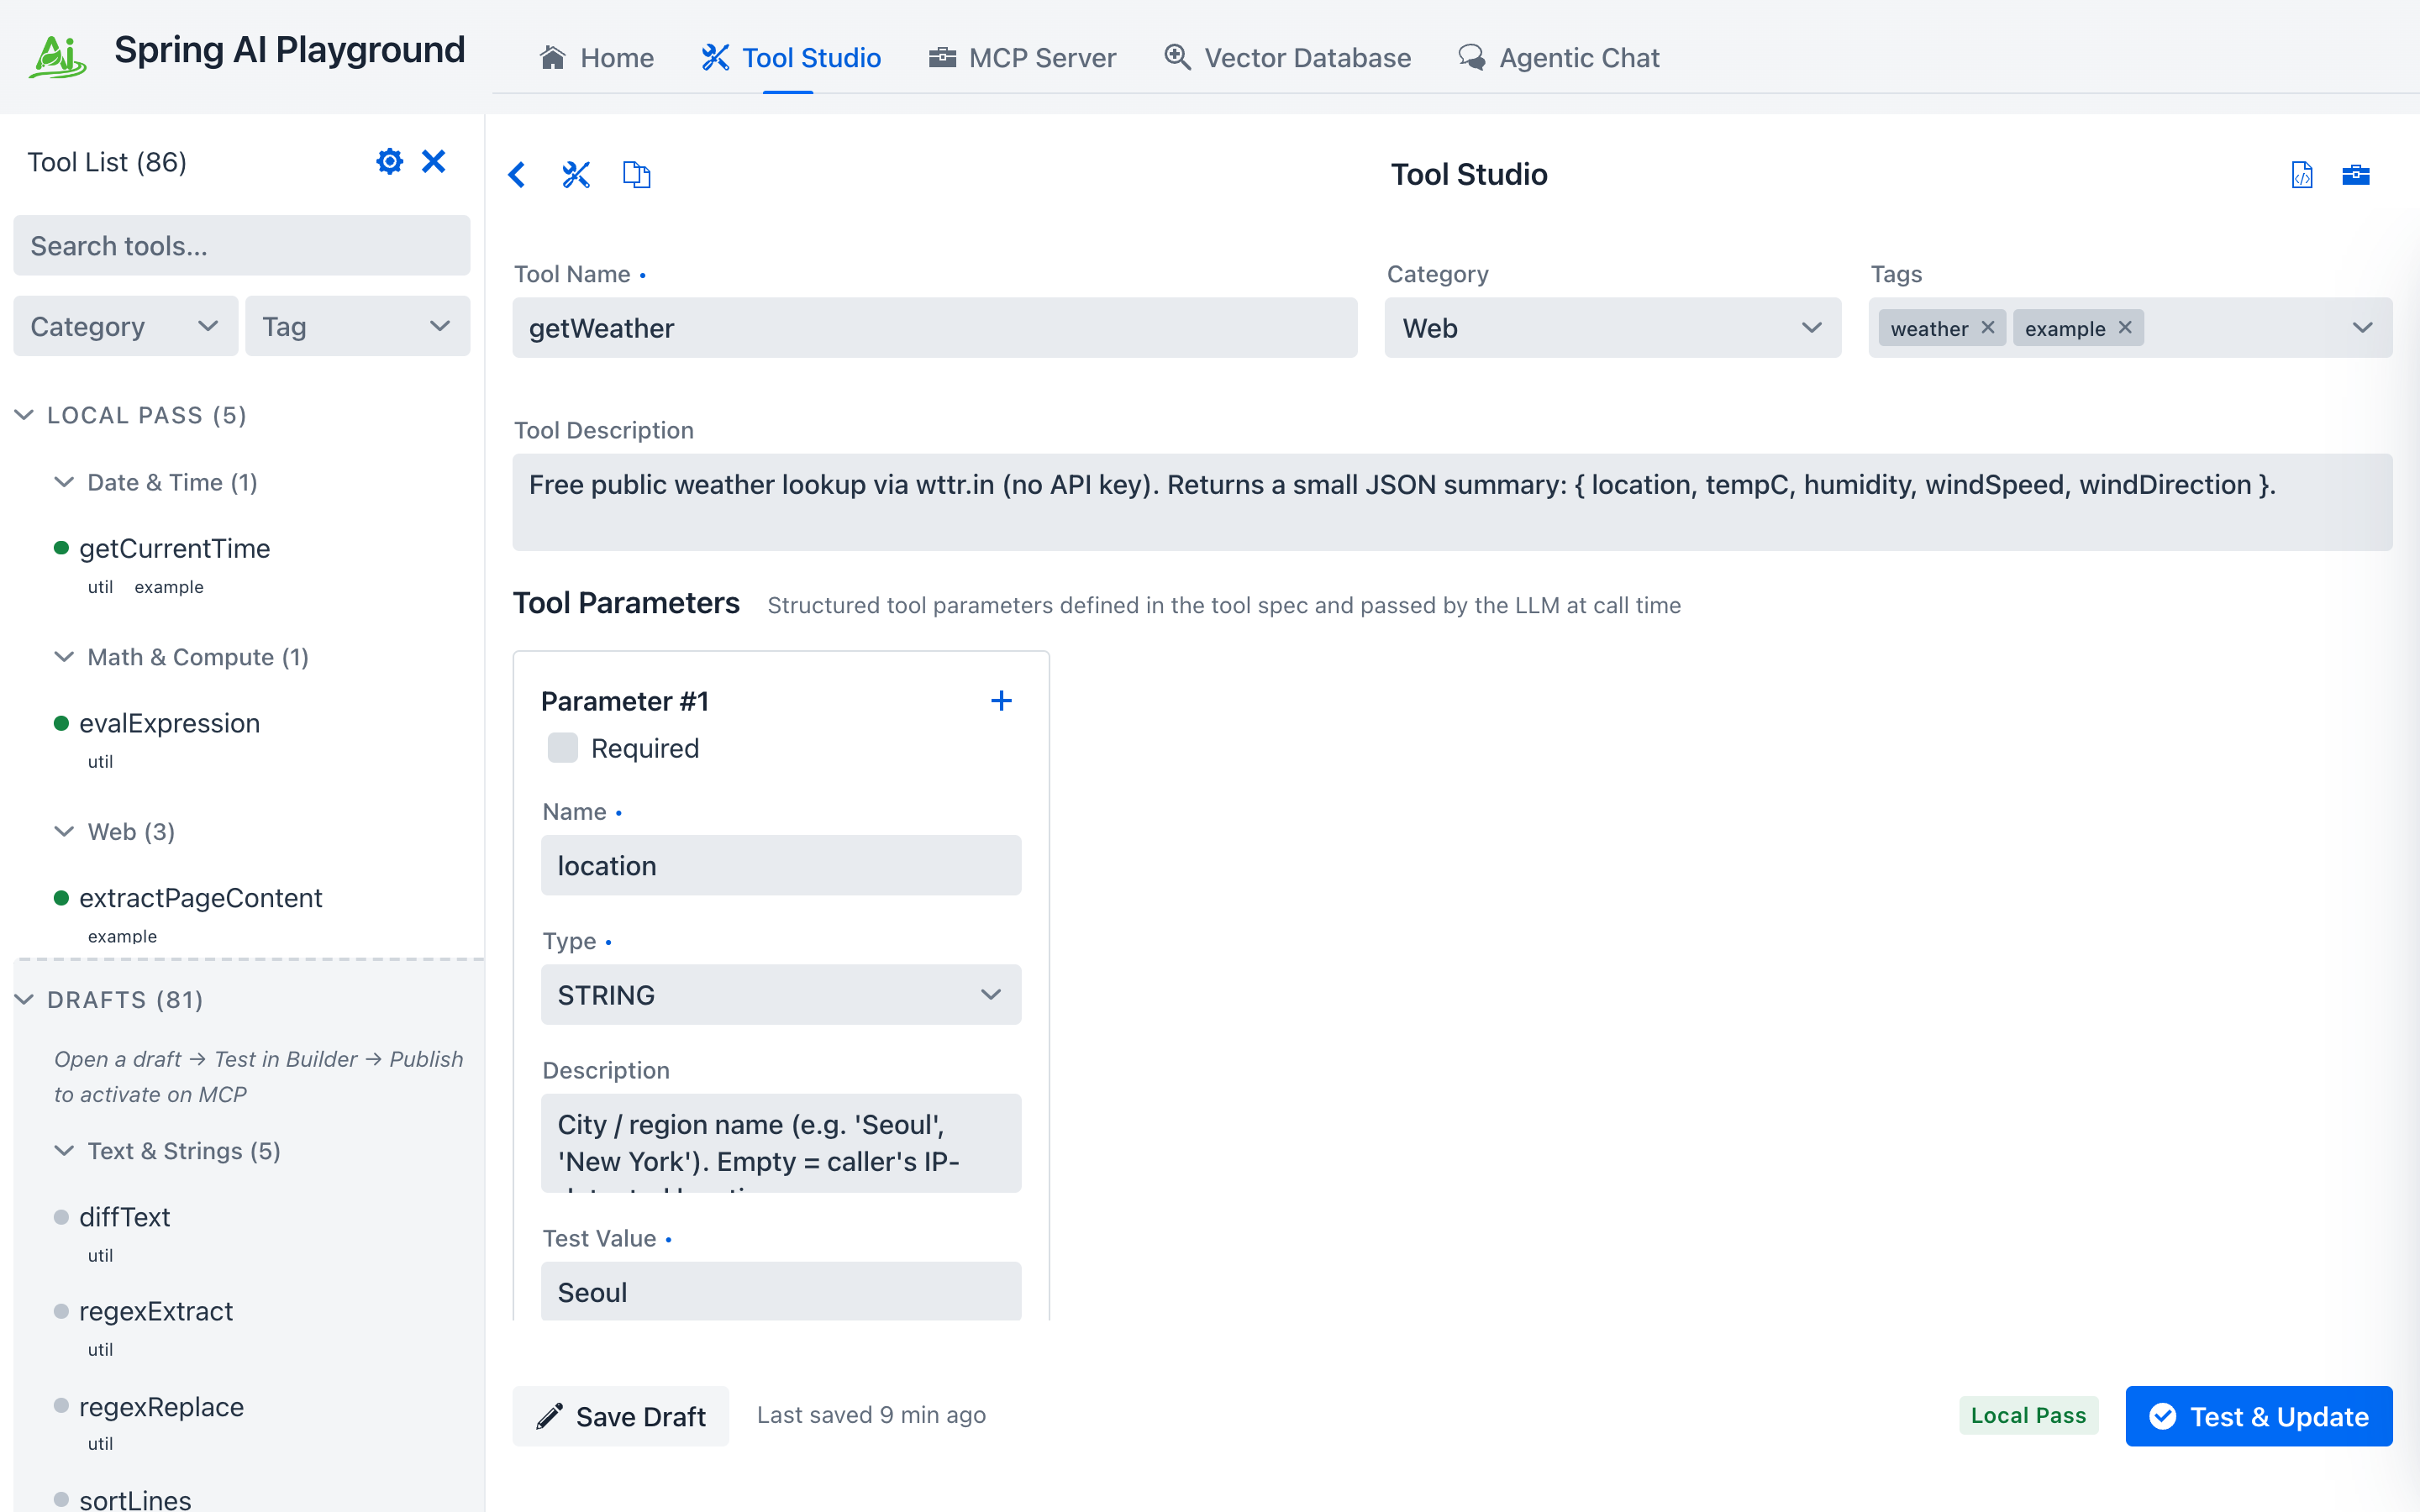
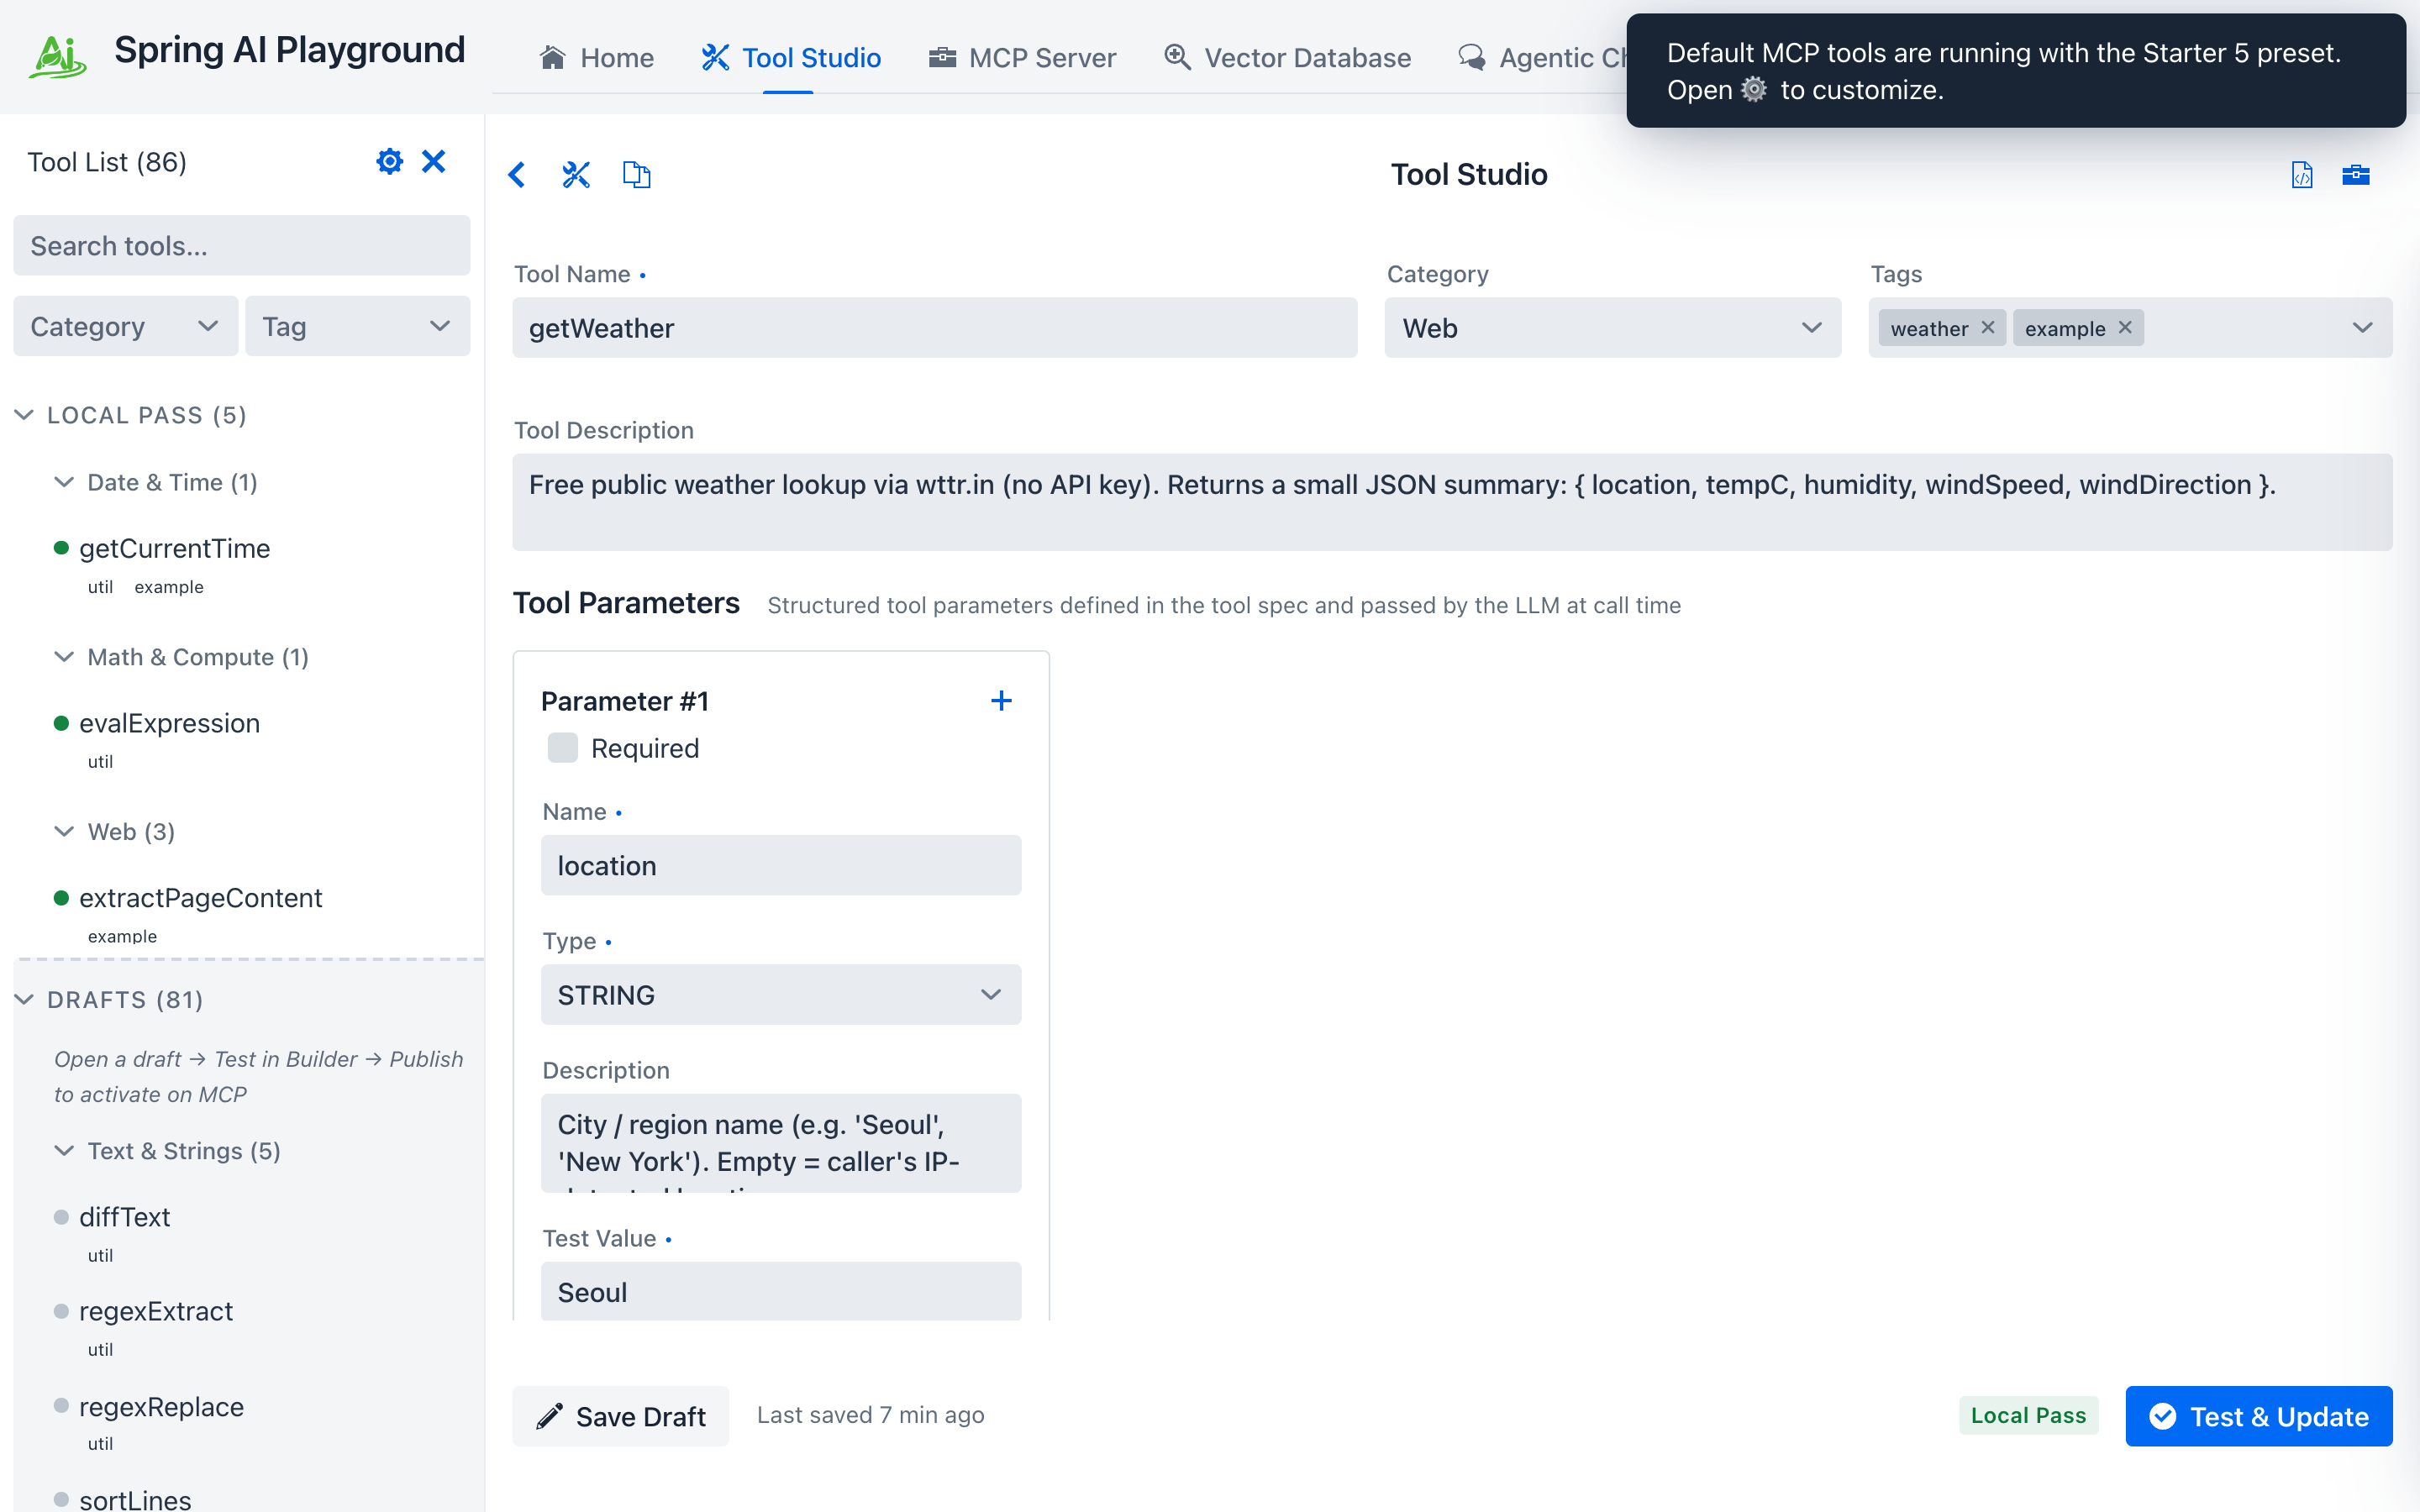 ① the full catalog in the left rail, split into LOCAL PASS (tools that have a passing local test) and DRAFTS (tools still missing one, usually because an API key is not set), ② tool name and description (shown to the model for selection), ③ structured parameters - the Required checkbox drives whether the Test Value is mandatory, ④ the Test Value, the sample input the sandbox runs with to earn the Local Pass, ⑤ Test & Publish / Test & Update runs the test then publishes if it passes - until it does, the tool sits in DRAFTS and is not exposed through MCP.
No Test Value, no Local Pass, no MCP
Leave a Required parameter's Test Value empty and the form refuses to run at all - it reports Parameter #1 is invalid instead of testing. A tool that cannot run locally never reaches the MCP server. Pick a representative sample (Seoul for getWeather) that exercises the same code path the model will hit in production.
Publishing confirms with a Tool 'getWeather' published. banner. Tool name and description match the entry in MCP from this point on.
 A live run against wttr.in:
 ✓ Success, 1332 ms, location = Seoul as the input, and the normalized JSON as the output. That run is the Local Pass, and the Local Pass is what gates publication - tools that haven't earned it never reach an MCP client.
- Switch to MCP Server. The built-in connection
spring-ai-playground-built-in-mcpis selected by default. Scroll down to the MCP Inspector section to see the tools as any MCP client would.
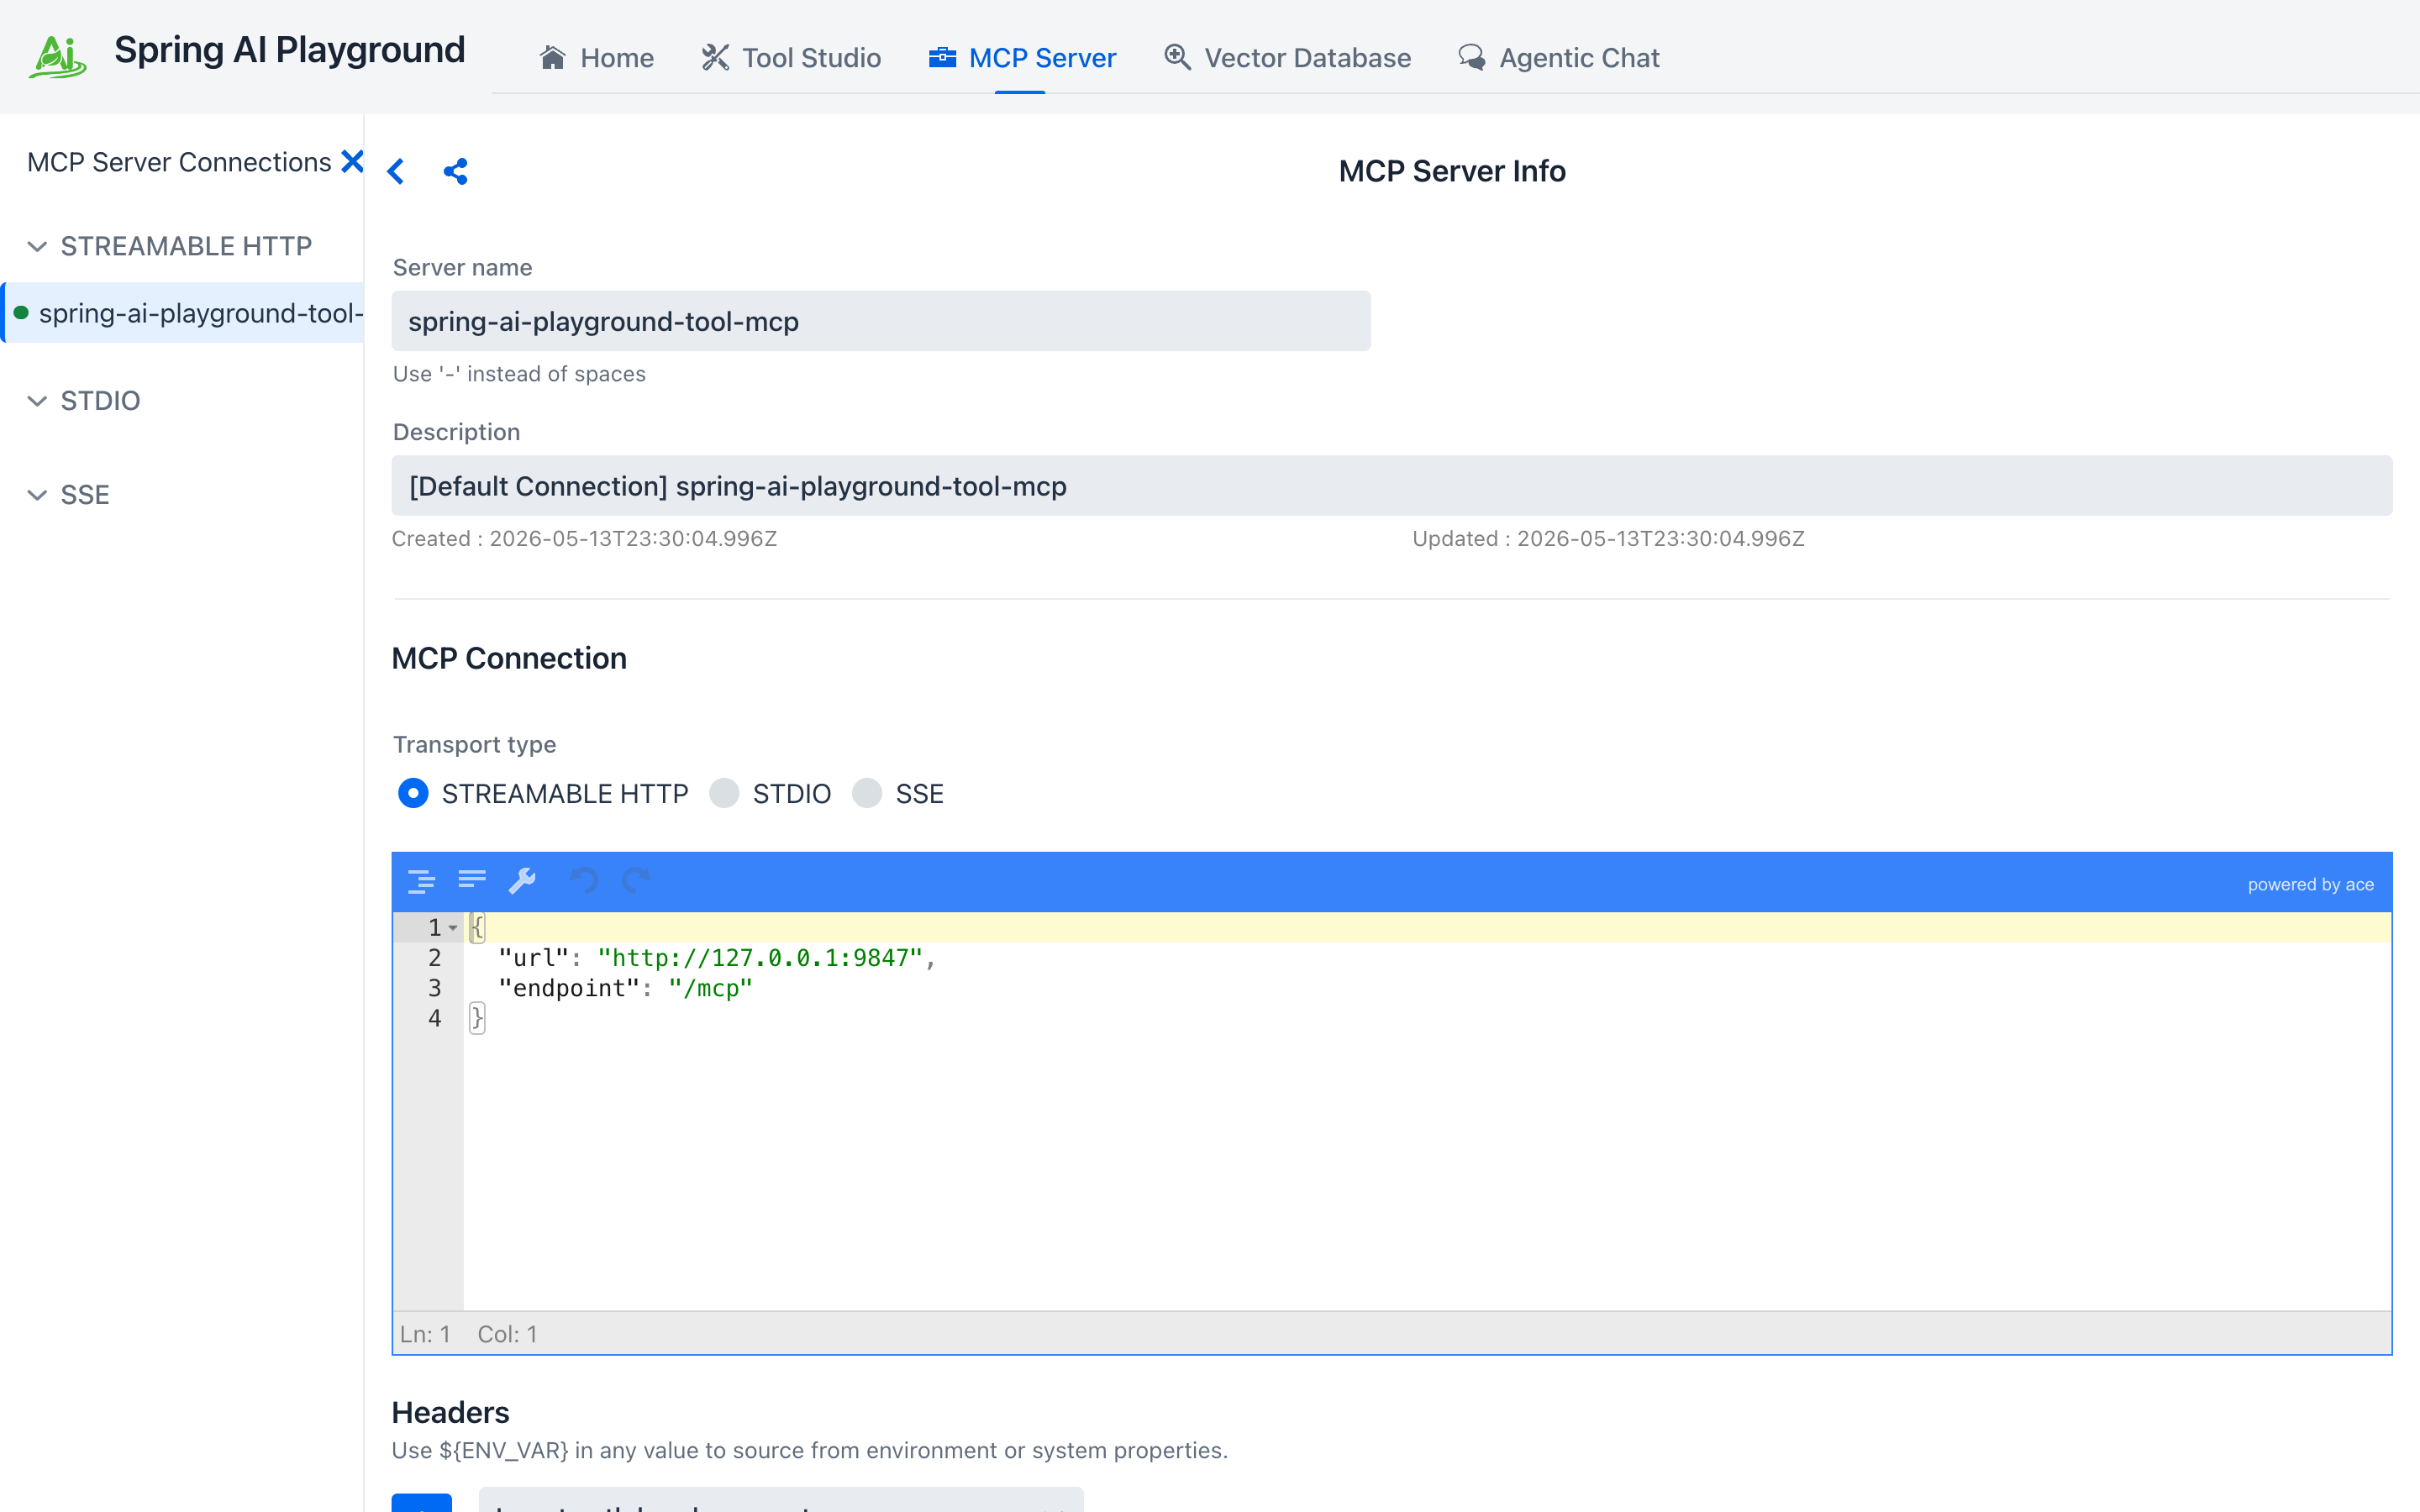 The Tools tab lists the
 5 tools the built-in server currently exposes, each with its risk chip and its parameter form. ① the blue play icon (tooltip: Run tool) on the getWeather row, the tool you just published, runs it through the full MCP transport, not just the local sandbox.
Why this matters
Validating a tool through MCP (not just via Tool Studio's local test) catches schema mismatches and serialization issues that would otherwise only show up the first time a model invokes the tool in chat.
Common pitfalls
- Spaces in tool names break MCP. Use
camelCaseorsnake_case. - Don't hardcode secrets. Use environment-backed
static variables(${OPENAI_API_KEY},${SLACK_WEBHOOK_URL}, ...) so they're injected at launch time only. - Keep results compact JSON. Long free-text outputs balloon the chat token count and crowd the context window.